
There is nothing more frustrating than finishing a long print job only to discover that your vibrant yellows have turned a muddy green, or your cyans are contaminated with magenta. Color mixing, also known as “cross-contamination” or “stringing,” is a common headache for print operators. It wastes expensive ink, ruins media, and delays client deliveries.
While many operators immediately blame the print head, the culprit is often a maintenance issue or a pressure imbalance within the ink system. By following a logical troubleshooting process, you can isolate the cause and restore your print quality. At Holdwin, we believe that regular maintenance and stable equipment are the keys to preventing these issues.
Here is a step-by-step guide to identifying why color mixing happens and how you can stop it.
1. The Most Common Culprit: The Wiper and Capping Station
Before you disassemble any parts, look at the cleaning components. The wiper and capping station are responsible for keeping the print head clean, but if they are dirty, they become the source of the problem.
Inspecting the Wiper Blade
The wiper blade acts like a squeegee for your print head. Its job is to wipe away excess ink after a cleaning cycle. However, if the wiper has accumulated dried ink, it cannot clean the nozzle surface effectively. Instead of removing ink, a dirty wiper smears waste ink across the nozzle plate, pushing one color into the nozzle channel of another.
The Fix: Clean the wiper blade daily with a specialized cleaning solution. If you notice the blade is deformed, curved, or has a jagged edge, replace it immediately. A damaged wiper does more harm than good.
Checking the Capping Station
The capping station (or ink stack) seals the print head when the machine is idle to prevent it from drying out. It also sucks waste ink from the head during cleaning cycles. If the waste ink pump is not working correctly, or if the waste tube is clogged, the cap will fill with dirty ink.
When the print head docks onto a flooded cap, the nozzles sit in a pool of mixed waste ink. Through capillary action, this dirty ink is sucked back up into the nozzles, contaminating the fresh ink inside. This is why you often see color mixing after the printer has been sitting overnight.
The Fix: Ensure the waste ink pump is functioning and the drainage tube is not bent or clogged. Regularly clean the rubber seal of the cap to ensure an airtight fit.
2. Air Leaks and the Ink Supply System
If your cleaning station is in perfect condition, the issue usually lies in the ink supply system. Stampanti Eco solvente rely on a delicate balance of negative pressure to keep ink flowing without dripping.
The Role of Dampers
Dampers sit directly above the print head. They filter the ink and maintain proper pressure. If a damper is damaged or the O-ring seal is loose, air enters the system.
When air enters, it breaks the vacuum. This can cause ink to drip out of the head (pooling on the nozzle plate and mixing) or cause ink to flow backward toward the cartridges. When ink flows back, it creates a void that other colors can rush into, leading to internal mixing.
The Fix: Check your dampers visually. They should be partially filled with ink, not empty or full of air bubbles. If you suspect a leak, replace the damper and the O-ring connecting it to the ink tube.
3. Print Head Condition and Internal Damage
Sometimes, the hardware itself is the limitation. The print head is a precision component, and physical damage can lead to irreversible color mixing.
Internal Cross-Linking
Inside the print head, microscopic walls separate the different color channels. If the print head strikes the media (a “head strike”) or if aggressive solvents damage the internal manifold, these walls can crack. This allows colors to mix internally before they ever reach the nozzle plate.
Deflected Nozzles
Even without internal cracks, a clogged nozzle can cause mixing. If a nozzle is partially blocked, the ink droplet may not fire straight down. Instead, it sprays at an angle (deflection), landing on a neighboring color’s nozzle area or merging with other droplets in the air.
The Fix: Print a nozzle test strip. If the lines are fuzzy or erratic, perform a soak cleaning. However, if internal cross-linking has occurred, the only solution is to replace the print head.
4. Upgrade Your Workflow with Reliable Equipment
Prevention is always better than cure. While daily maintenance prevents most issues, the design of the printer plays a significant role in stability. High-quality printers are designed with robust negative pressure systems and precise capping stations that minimize the risk of siphon effects.
If you are currently researching the best equipment to support your output requirements, check out our comprehensive guide on how to choose the right eco solvent printer for your business. Selecting the right machine from the start is the most effective way to avoid recurring color contamination issues.
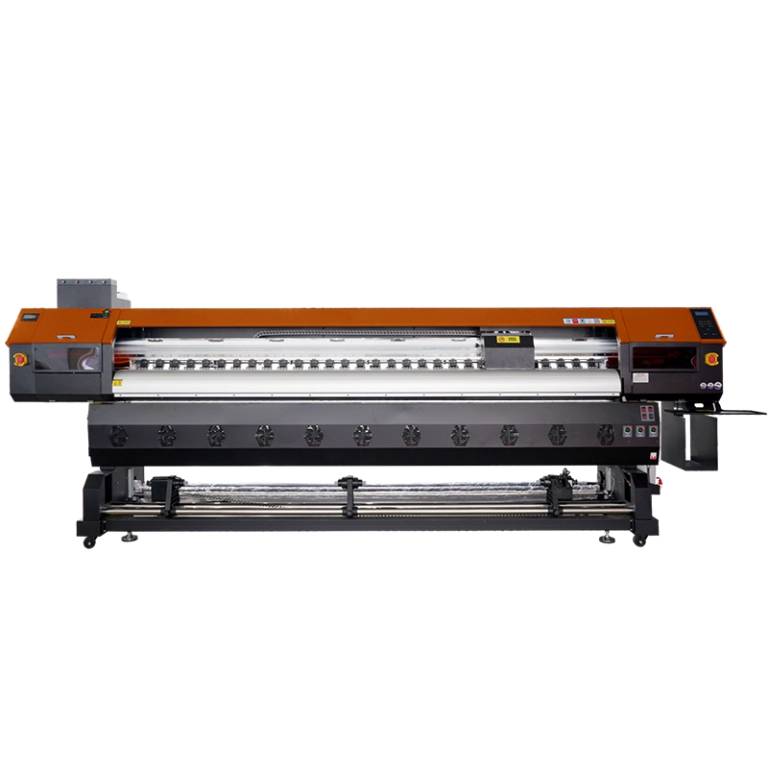
If you are frequently battling color mixing despite good maintenance habits, it may be time to upgrade to a machine designed for higher stability, such as the The HOLDWIN-3204E1/A1 . This model features an advanced ink supply system and high-precision suction devices that ensure waste ink is evacuated quickly, preventing the backflow issues that cause color contamination. Investing in reliable hardware reduces the downtime spent troubleshooting and increases the time spent printing profitable jobs.
Conclusione
Avoiding color mixing in eco solvent printers requires a combination of hygiene and hardware awareness. By keeping your wiper and capping station clean, ensuring your dampers are airtight, and using equipment designed for stability, you can maintain crisp, vibrant colors.
Treat your printer with care, and it will reward you with flawless output every time. If you need professional advice on your specific setup, please Contattaci today.