What is UV DTF?
UV DTF, which stands for Direct-to-Film, has changed the way people put bright and long-lasting designs on tough surfaces. Getting that perfect, store-quality look involves more than just hitting ‘print.’ It’s all about mastering the drying step. By getting a feel for how your workspace and the UV light work together, you can make sure every design you create is tough, colorful, and built to last. 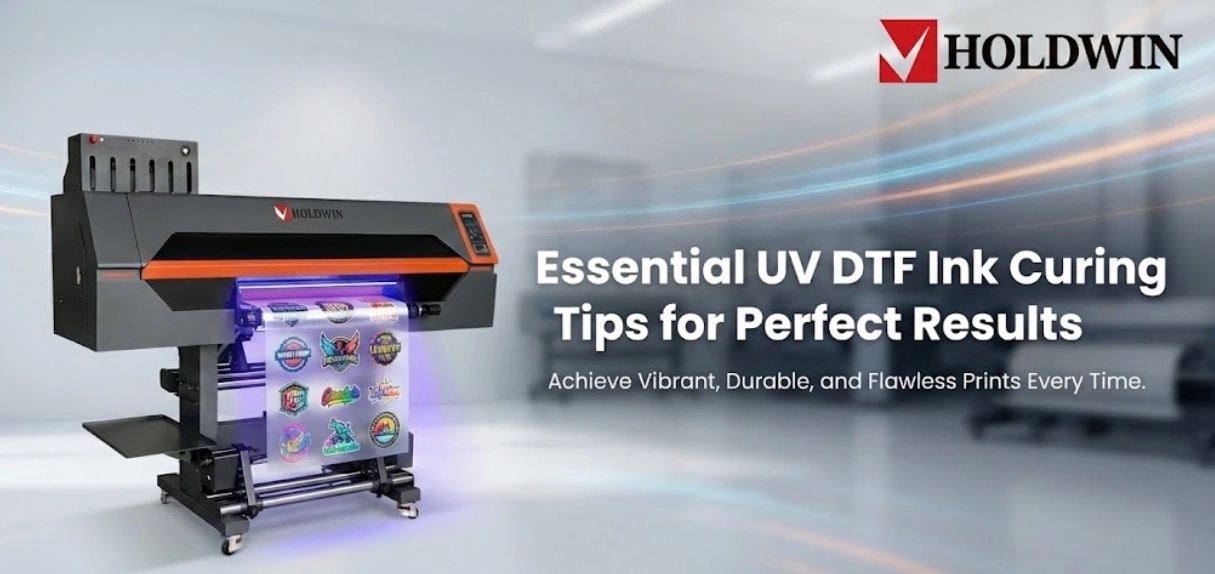
A Deep Dive into Proper Ink Curing
Think of curing as the bridge between a liquid design and a finished product. While it looks like the ink is just “drying,” it is actually transforming into a durable, protective layer. The secret to a perfect cure is balance.
Risk of Under-Curing: Weak UV light leaves ink soft underneath, preventing a bond with the UV DTF AB Film and causing designs to smudge, bubble, or peel.
Risk of Over-Curing: Intense light “over-bakes” the ink, destroying its elasticity and causing the transfer to crack when applied to curved surfaces like bottles or helmets.
Select the UV Right Ink for the Substrate
The “perfect result” depends on matching your ink to the final application. Holdwin offers specialized formulas to eliminate curing guesswork:
For Rigid Surfaces: Use Crystal UV Ink. This ink is engineered for ultra-high transparency and a “crystal-hard” finish. Its fast-curing properties ensure high-gloss retention without cloudiness, making it ideal for glass and acrylic.
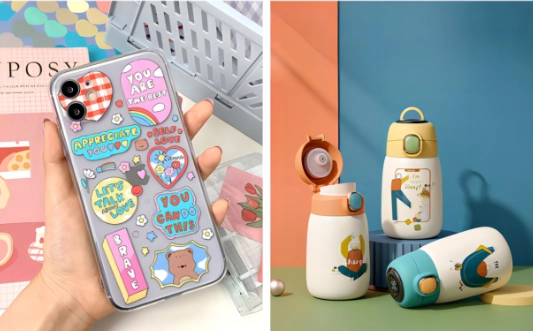
For Flexible Substrates: Use 3D Soft UV Ink. Standard inks often crack when stretched. Our soft resin formula provides 200%-300% elasticity. It cures into a flexible layer that moves with leather or TPU, maintaining a “soft-hand” feel.
For All-Purpose Production: Our standard UV Curable Ink utilizes nano-scale grinding technology. This ensures consistent particle size for smooth flow and instant, stable curing across a wide range of promotional products.
Maintain Environmental Stability
UV inks are sensitive to temperature and humidity.
Temperature: Aim for 18-30°C. Cold ink becomes viscous, leading to uneven curing and potential printhead deflection.
Humidity: Maintain 40-60%. Excessive humidity can interfere with the ink’s bond to the PET film during the curing phase.
Substrate Preparation
The finest dried ink will come off if the surface has grease. Clean the item you plan to use, like a glass piece, helmet, or metal sheet, with rubbing alcohol. This wipes away hidden marks and dirt, giving a spotless base for the stick. Holdwin points out that getting ready covers half the drying work; skip it, and the hold will not get as strong as it could.
Master the Printing and UV Curing Settings
The heart of UV DTF comes in the quick drying right during print time, where the wet ink turns into a firm, bendy sheet.
Calibrating UV Lamp Power
Balance the strength of your UV LED light carefully. Low power leaves the ink sticky, so it smears when you layer it. Too much power turns the ink hard and easy to break, making designs split on round items. Do a quick check by seeing if the white ink feels solid but still gives a bit when you press it.
Lamination and Post-Print Stabilization
After printing ends, the dry sheet needs more time to set. The link between the printed side, Film A, and the back film, Film B, needs a hold period.
Precision Lamination
Use a cool press machine with steady push to add the back film. This presses the glue into the dried ink. Small bubbles mean weak dry spots where the light did not even out. Keep the rollers free of dust and push the same across the full sheet width.
The Importance of “Resting” Time
It feels easy to move the design right away, but wait 2 to 12 hours for the joined sheet. This pause allows the ink and adhesive to fully bond and stabilize. Holdwin experts suggest a full night for detailed work with thin lines, so the sides stay down when you place it last.
Final Application and Secondary Curing
The last part happens on the real item. The light did most during print, but the glue needs a follow-up dry with time and push.
Proper Transfer Techniques
When sticking it on, use a flat tool to push hard from middle to edges. This starts the glue that sticks with pressure. Pull the back film off slow at a steep angle. If a spot pulls up, push it flat again with more force.
The 24-Hour Rule
The hold gets its best after about 24 hours on the item. Skip washing or hard use in that time. This wait lets the glue sink into tiny holes on the base, keeping the UV DTF Ink locked in for good.