Using large format sublimation printers is straightforward: first prepare your artwork, check the required ink and paper, put the roll in the printer. Then run the nozzle test, select your print options and make a test print. After the paper has dried, you can transfer your design to your chosen fabric using heat and pressure.
Even small misalignment of a wide roll can lead to huge waste of paper. Checking a few things on the sample at the beginning can prevent problems with paper and color. It’s much easier to spot any issues on the sample than in the middle of printing.
Large-format sublimation printing is widely used for sportswear, jerseys, leggings, activewear, polyester garments, curtains, cushions, flags, banners, and other home textile products. It is also suitable for compatible coated promotional products.
Industrial models such as the HOLDWIN-1804TX support printing widths of up to 1,820 mm, making them suitable for wide-format textile production.
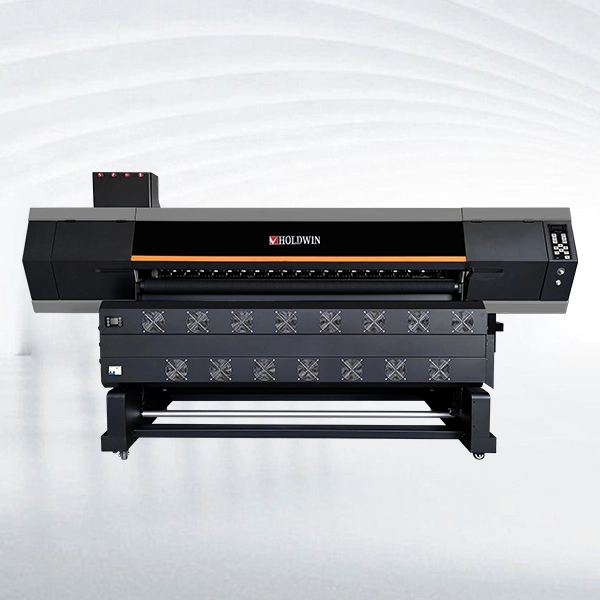
Understanding the complete workflow—from preparing digital artwork and printing on transfer paper to heat pressing and inspecting the finished fabric—is essential for efficient operation and consistent print quality.
Large Format Sublimation Printer Operation Overview
| Step | Main Task | Key Check |
| 1 | Prepare the Printer and Materials | Ink, paper, feeding system |
| 2 | Prepare the artwork and RIP settings | Image size, ICC Profile, print mode |
| 3 | Load the Paper and Test the Print | Paper alignment, nozzle test, print quality |
| 4 | Print, Dry, and Transfer the Design | Drying, temperature, pressure |
| 5 | Maintain the Printer After Use | Finished print inspection, cleaning, storage |
Step 1: Prepare the Printer and Materials
Before printing check the setup. A loose paper edge can ruin a long print run.
Check the Machine and Ink
Verify power connection, ink, upper and lower feeding rollers, take-up system, and dryer. Remove any debris from paper path. Check for any ink warnings prior to sending a long print job.
HOLDWIN supplies and supports print shops in setting up digital textile printing machines. The wide-format printer model HOLDWIN-3208 is equipped with 8 i3200-A1 printheads and reaches a maximum print width of 3250 mm. With this model HOLDWIN can print very wide designs for garments, flags and home textiles.
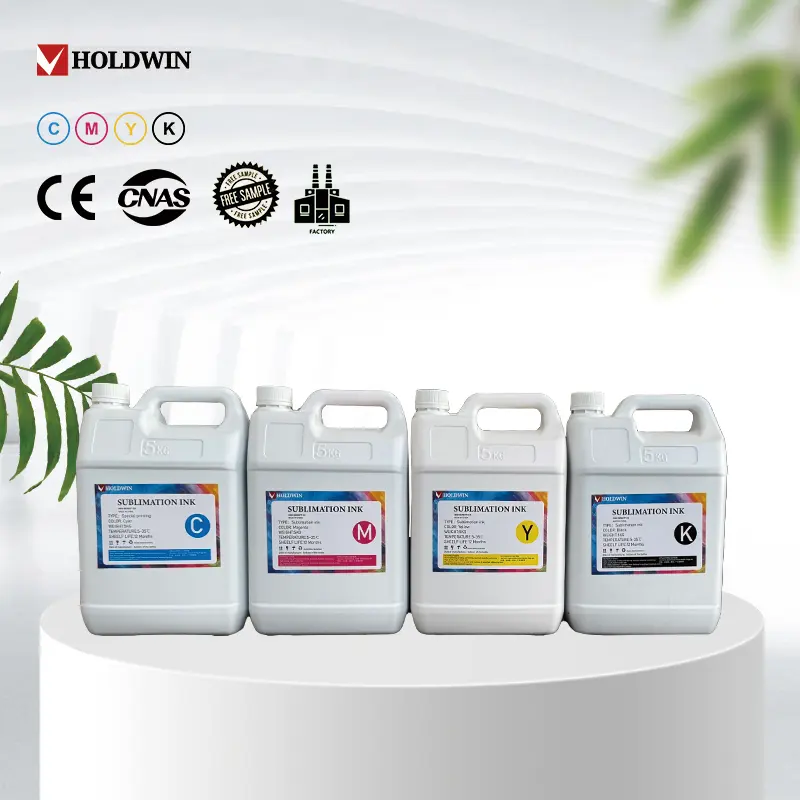
Ultra-High Concentration Sublimation Ink 5L is recommended for long runs as it delivers strong color in bulk packaging. Please check for compatibility with your printheads and ink system before refilling or switching to this ink.
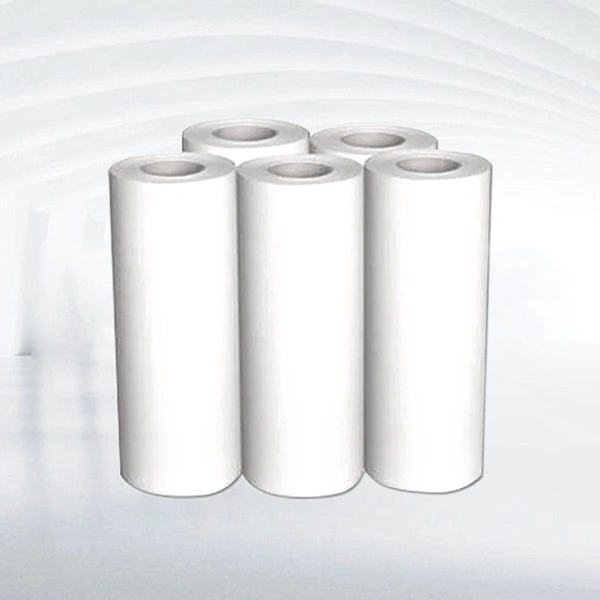
Choose the Sublimation Transfer Paper
The weight of the paper affects the way it is fed through your printer as well as the ink’s absorption into the fibers of the paper. We supply our Sublimation Paper in weights ranging from 29 gsm up to 100 gsm. The lighter weights are ideal for production of sportswear in a flash whilst the heavier weights are more suited for production of garments with very dense designs as well as home textiles.
This very light weight paper also needs to be printed at the correct tension, to prevent it from curling up. It’s a good idea to test a strip of paper with your chosen ink and print settings before ordering too much of this paper. Read more about the different types of sublimation printing papers in our Sublimation Printing Papers guide.
Step 2: Prepare the Artwork and RIP Settings
Remember that your print file needs to match your printed material not just what it looks like on screen.
Check Size, Color, and Print Mode
Set final output size of your artwork. Check for legibility of text, quality of images and bleed. Flip artwork for face-down transfer and preview to ensure you haven’t flipped it twice.
Open the artwork in your RIP software and check the printable width, image orientation, and print mode. Select the appropriate ICC profile for your printer, sublimation ink, and transfer paper combination. Keep the RIP color management settings consistent to avoid applying conflicting color corrections. Start the full print run after confirming the test results. Monitor the output carefully to maintain consistent print quality. For repeat orders, use the approved pressed sample as your color reference and record the settings used. Check how the work actually looks at the printed reference size, including any small text.
Step 3: Load the Paper and Test the Print
Misaligned paper can cause it to wrinkle or move to the side during long print runs.
Align the Roll and Inspect the Nozzles
Secure the roll to the machine, identify the coated printing side of the paper and carefully feed it through the machine rollers as described in the relevant machine documentation. Keep both edges straight and pull them evenly onto the take-up shaft. Tension the paper but do not stretch it.
Perform a nozzle test to see if there are any missing lines. Clean the printhead with the recommended method and retest. Print a test section with fine details and lots of color to test alignment, banding and color. Watch the first few feet of print as the take-up shaft begins to wind.
Step 4: Print, Dry, and Transfer the Design
Run the main test. Monitor the output as it prints.
Watch the Printing and Drying Process
Monitor for drifting edges, lifted paper, and varying ink flow. For banding, stop printing and examine nozzle pattern and feed settings. If take-up roll winds unevenly, adjust tracking before more paper accumulates.
We use an external automatic air-and-heat dryer for the printer. Check the sublimation transfer paper for dryness before winding it too tightly onto the roll. Drying performance may vary between different grades of sublimation paper, especially with heavy ink coverage. If the printed surface is still damp, ink may transfer onto the back of the next layer during winding.
Transfer the Image onto Fabric
Printing to sublimation transfer paper is only half of the production process. Face the printed side of the sublimation paper to the light-colored polyester or other sublimation material and press with heat. Make sure the paper and fabric are flat and pressed together firmly during pressing.
When working with fabric, sublimation transfer paper and heat transfer equipment, you will need to adjust the temperature, pressure and transfer time depending on the material. It’s always a good idea to test a small area first to check for any discrepancies in the pressing conditions of the material and the print. Place the printed transfer paper on the polyester fabric and make sure it is aligned and fixed in place to prevent it from moving during the pressing process. After pressing, let the material cool as recommended for the transfer paper. Carefully remove the paper from the material and check the print for correct colors, good detail and good sublimation transfer.
Step 5: Maintain the Printer After Use
Maintain your printer for the next print. Check printed output and the paper feeding system for signs of wear before switching off the printer. Find out if your printer also needs to be cleaned and maintained.
Inspect, Clean, and Store the Equipment
Remove scraps, check for waste ink spills and clean accessible feeding areas as described. Properly powercycle the printer to allow the printheads to return to the parked position of the printheads. Avoid using hard objects and “cleansers” on the nozzle surfaces.
Keep unused papers dry and dust-free. For your repeat orders, please note the paper grade, ink, print mode and sample results of your previous print jobs. For your spare rolls, store them away from direct heat and sunlight.
Conclusion
Good results with large format sublimation printing start with correct loading of the printing paper, a clean nozzle test, the right inks, and correct heat transfer. We will help match your equipment and materials with your field of work. We would also be happy to assist you with the setting up and operation of your printing system.
For light colored products we recommend a 100% polyester material as this will give the best results. Polyester blends can also be printed as products but the print will be lighter the lower the percentage of polyester in the blend. Untreated cotton cannot be printed with sublimation ink
Mirror the artwork so that the print side faces the fabric. Check the RIP preview as the software may already have this option selected.
Note that the color of sublimation ink may appear muted prior to the heat transfer process. Test the color by pressing a test sample to the fabric on which you intend to print and then view the resulting print.