Introduction to Sublimation Printer
Picture this. You own a little shop that makes custom T-shirts. Or maybe you design banners for neighborhood parties. You need colors that grab attention. They should survive many washes. And they must stay eye-catching without losing their shine. Digital Sublimation printing makes that possible.
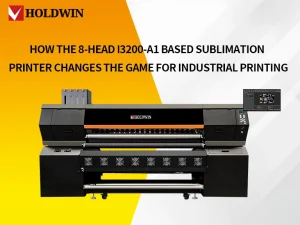
Consider HOLDWIN . They stand out in this area. Their gear mixes quick work. It uses Epson heads that give clear 1440 dpi work. This fits banners or couch covers well.
Let’s deep dive into the printer now.
| 🚀 Explore the Best: Check out our guide on the Best Sublimation Printer Features You Need to find the right setup for your business.
Core Components of a Digital Sublimation Printer

• You commence with the primary components. The setup includes an ink tank, a print nozzle, a pass-over sheet, and a warm press. Each component has its specific task. Together, they convert your digital image into a print that endures.
• Ink is the driving force. These are specialized mixtures for sublimation. They are available in cyan, magenta, yellow, and black. At standard temperatures, they remain solid. However, when heat is applied, they vaporize. Then they adhere firmly to the material. You can fill pods according to your daily needs. For consistent operations, choose those with a smooth flow to avoid frustrating interruptions.
• The print nozzle is next in line. It is your precise instrument. Tiny openings release ink droplets onto the sheet. Software directs the image. Look for piezoelectric types. They deliver consistent performance and resist clogging, even during extended use.
Consider starter units such as the HOLDWIN-1803TX. It compresses all this into a small container. You get Epson nozzles for crisp lines. And a straightforward ink arrangement for cups or shirts.
| ⚙️ Featured Hardware: See the HOLDWIN-1804TX Industrial Printer in action, designed for high-speed sublimation.
Step-by-Step Working Process
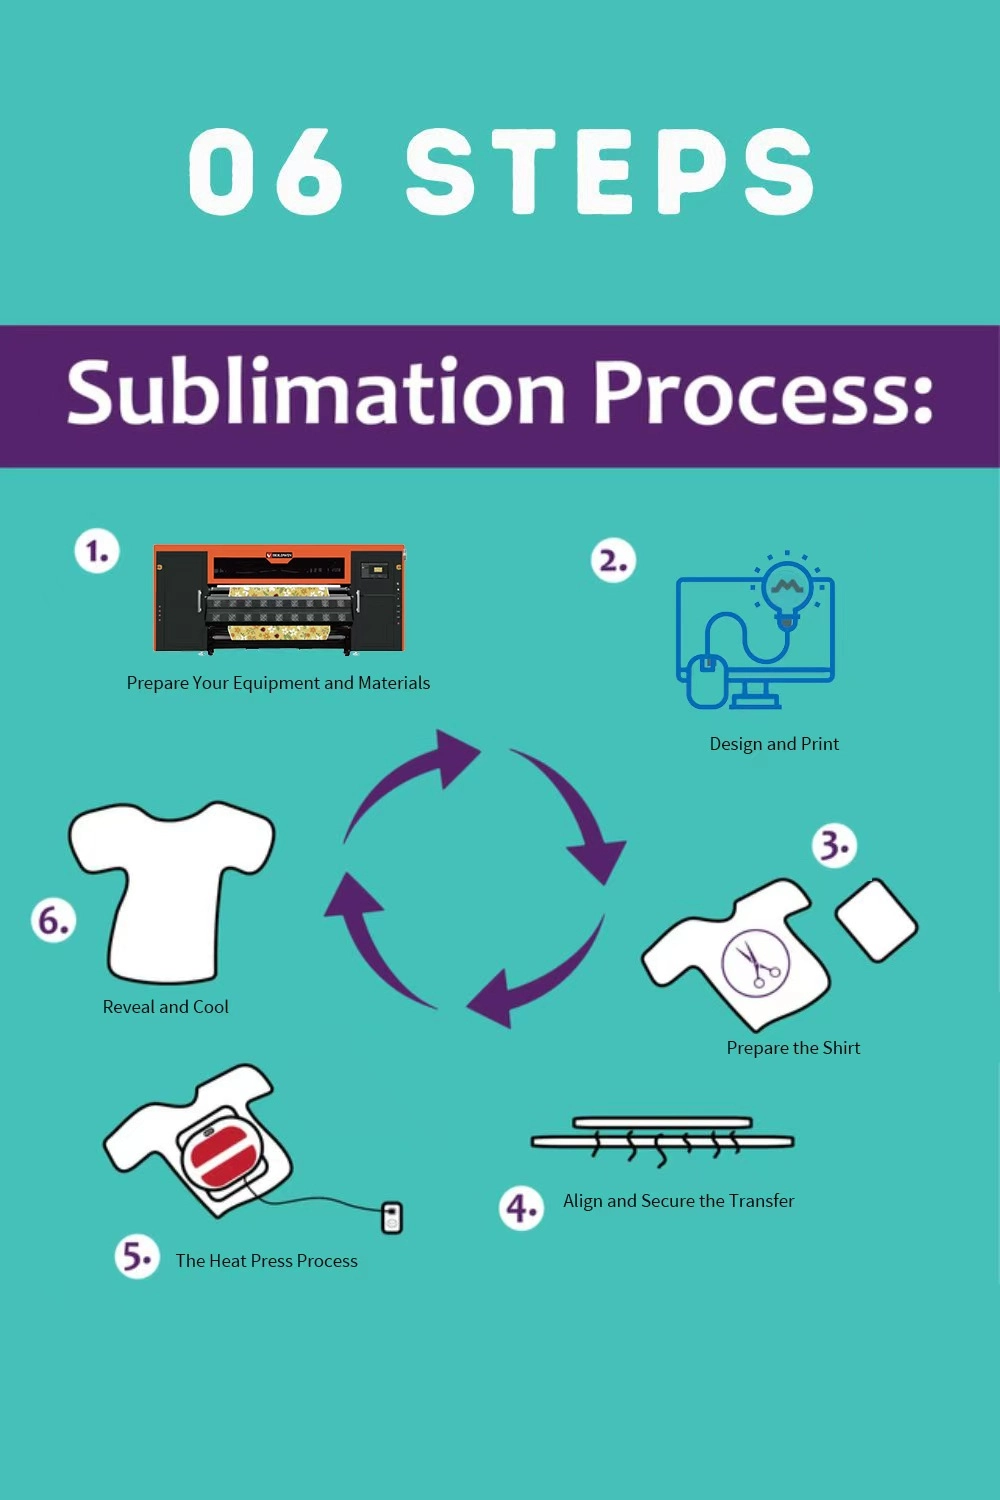
Phase 1: Preparation & Supplies
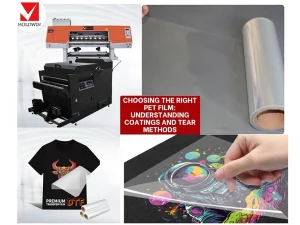
Before starting, ensure you have the correct materials. Sublimation only works on polyester (at least 65% for best results) or items with a polymer coating (sublimation blanks).
Sublimation Ink & Paper: Specialty ink and heat-sensitive transfer paper.
Heat Source: A heat press (for shirts), mug press, or convection oven (for tumblers).
Essentials: Heat-resistant tape, lint roller, and butcher paper (to protect your press from ink “gassing out”).
Phase 2: Design and Print
Create Your Artwork: Use software like Photoshop, Canva, or CorelDRAW. Ensure your resolution is set to at least 300 DPI for clarity.
Mirror Your Design: This is the most important step! Since you will place the paper face-down, you must flip the image horizontally before printing so text and images appear correctly on the final product.
Print: Load your sublimation paper (usually the brighter, smoother side is the print side) and print using high-quality settings. Let the ink dry completely to avoid smudging.
Phase 3: The Transfer Process
Prep the Substrate: *For Fabrics: Use a lint roller to remove fibers and “pre-press” the garment for 5–10 seconds to remove moisture and wrinkles.
For Mugs/Hard Blanks: Wipe the surface with a lint-free cloth to remove oils or dust.
Position the Transfer: Place your printed design face-down onto the item. Secure it tightly with heat-resistant tape to prevent “ghosting” (blurry edges caused by the paper shifting).
Layer with Protection: Place a sheet of butcher paper inside the shirt (to prevent ink bleeding to the back) and another sheet on top of the transfer paper to protect your heat press plate.
Press: Close your heat press. Standard settings are usually:
Temperature: 385°F to 400°F ($195$°C to $205$°C).
Time: 45–60 seconds for fabric; 3–5 minutes for ceramic mugs.
Pressure: Medium to firm.
Phase 4: Finishing Touches
Peel: Open the press and carefully remove the transfer paper while it is still warm (or as directed by your specific paper brand). Be careful—the item will be extremely hot!
Cool: Let the item sit undisturbed until completely cool. As it cools, the gas reverts to a solid, locking the color into the fibers permanently.
| 👕 Ready to Start? Follow our Step-by-Step Guide to Sublimating a Shirt to master the transfer process.
Advantages of Digital Sublimation Printers
Extreme Durability: Because the ink becomes part of the fabric, the prints won’t crack, peel, or fade, even after 50+ washes.
“Soft Hand” Feel: Since the ink is inside the fibers, you can’t “feel” the print on the fabric (unlike screen printing or DTG, which can feel thick or rubbery).
Unlimited Color: You can print complex photographic images and millions of colors at no extra cost per color.
🔄 Not sure if Sublimation is right for you? Compare it with the latest DTF Printing Technology and its Benefits for cotton and dark fabrics.
Conclusion and Next Steps
Set to jump in? Pick a build that fits your beat. Hunt picks for your room and cash. Lots come with tips. To print first day.
For real touch help, ping us. Team does sets, fixes, and puzzle outs. Shoot mail to our Website or Contact us.
📚 Related Reading | Sublimation Essentials:
Ink for Fabrics | A deep dive into matching ink types with polyester, blends, and more.
Common Sublimation Mistakes | Learn how to troubleshoot ghosting and fading.